A homeowner's buying guide to insulation
Get the facts on the basic types of home insulation, where they are used, and why.
Want to stay warmer in winter, keep cooler in summer, and reduce your energy bills year round? Combined with proper air sealing, adding insulation is one of the easiest and most affordable ways to do it. Your home will be quieter, more comfortable, and may even fetch a higher resale value. As part of your home’s thermal envelope, insulation can help to reduce ice dams on roofs and eaves, making your home more durable.
Choosing the right kind of insulation depends on where you’re adding it, the desired R-value, and your budget. In the simplest terms, a higher R-value indicates greater insulation properties. The R-value you need is determined by where you live and what part of the house you’re insulating.
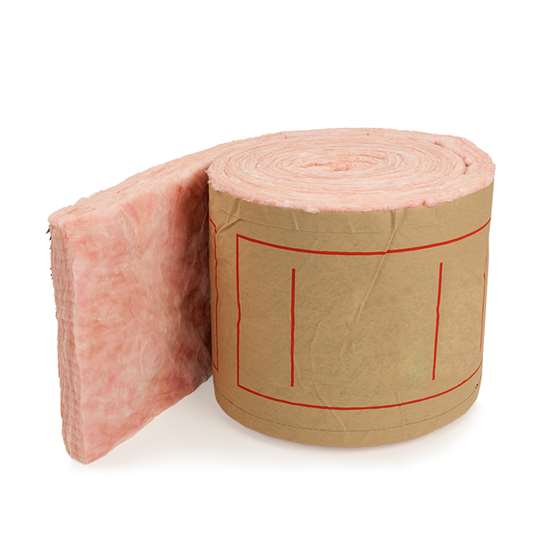
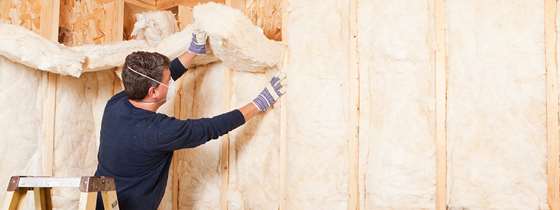
Good to know: Many people think of the classic pink fiberglass batting, which is used in walls, floor joists, flat attics, and other locations. However, it also comes in mineral wool variety that is less water absorbent than fiberglass batts. Good air sealing is important prior to batt installation
Pros: It can be easily installed by the homeowner and it is relatively inexpensive.
Cons: Fiberglass batts must be measured, cut and installed carefully to avoid gaps and compression that can lead to unwanted air flow and moisture problems (batts installed in walls should be flush with the studs).
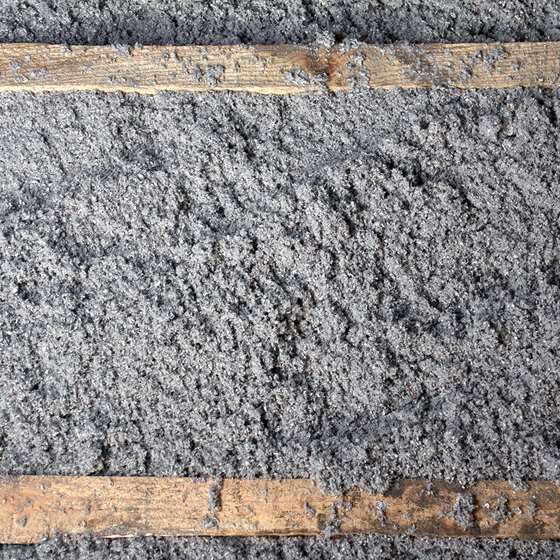
Good to know: Cellulose is made of recycled newspaper and comes in loose-fill, wet-spray (used in new construction or gut rehab), and dense-pack varieties.
Pros: Dense-pack cellulose can be used in existing wall cavities, loose-fill cellulose is better than fiberglass at getting around wiring and joists (ideal for open attic spaces).
Cons: Requires special equipment and careful installation. While rental equipment is available, this one should be left to a professional installer.
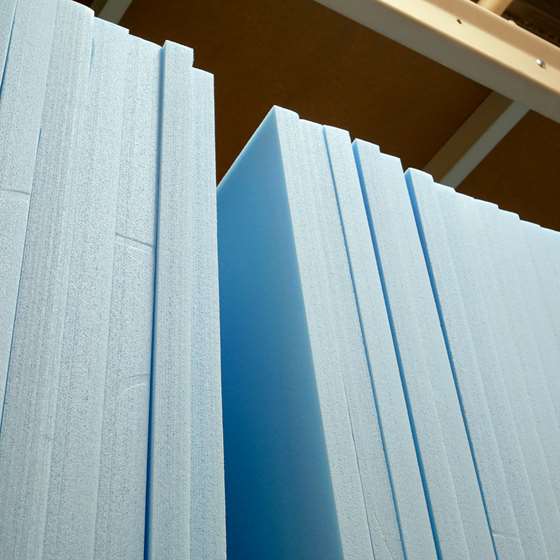
Good to know: Rigid panels of insulation can be used to insulate nearly any part of your home. There are numerous types of rigid insulation so make sure you find the product that best suits your needs.
Pros: Rigid insulation is a practical solution for sloped attic ceilings, foundations, commercial exteriors, and flat roofs. It can offer an extra layer of continuous insulation, plus air sealing and vapor control when properly sealed. It is easy to install without special equipment.
Cons: Can be challenging to install in spaces with pipes or other obstacles.
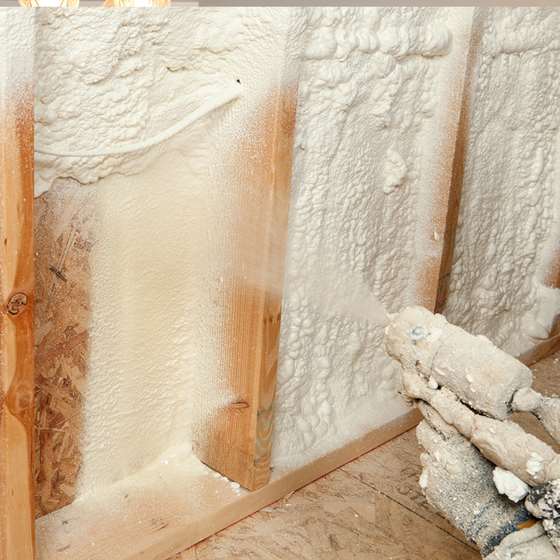
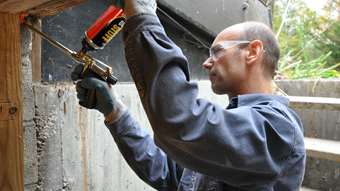
Good to know: Foam-in-place insulation can be blown on irregular surfaces like stone foundations. As with all insulation installations it’s important to follow manufacturer’s instructions (see footnote below).
Pros: It insulates and reduces air leakage and is often used for adding insulation to existing finished areas, irregularly shaped areas, and around obstructions.
Cons: The home needs to be vacant for a period of 1-3 days after installation, while curing takes place. It requires special equipment and careful installation, so this one should be left to a professional installer.
Due to the chimney or “stack” effect, hot air rises and escapes through the top of any building structure. So if you’re doing your own insulation, attic roofs and ceilings are the first place to look. Second, consider your foundation, basement walls, rim joists, and crawlspaces. If your home has uninsulated exterior walls, hire a professional to add dense-pack cellulose or pourable foam.
Yes, you can install every type of insulation yourself, except wet-spray, dense-pack, and spray foam—these require special equipment and careful installation. But keep in mind that tightening up a building can worsen existing air quality issues. A professional understands this and knows how to address it.
If you’re comfortable with the DIY approach, we offer technical guidance and rebates to help cover the cost of air sealing and insulation materials. Learn more about our weatherization programs.
* Because spray polyurethane foam insulation is activated and cures on site, it should always be installed by a qualified professional. Some occupants may be sensitive (or could become sensitized) to certain components of spray polyurethane foam insulation, either during application or afterwards. Prior to application, talk to your contractor or medical professional, and research the various insulation products available to determine what is appropriate for you, your home, and your specific project. If you choose to have spray polyurethane foam insulation applied in your home, talk to your contractor about how long you should be out of your home during and after application (usually 24-72 hours). More information about safe application of spray foam is available from the EPA.