How to save energy when starting seeds at home
Starting seeds indoors is a great way to maximize your garden’s productivity during the summer and satisfy that early-spring urge to play in the dirt. It can also be cost-effective – seeds are significantly less expensive than individual plants. Maximizing efficiency in your seed-starting set-up will help you save money while keeping your seedlings happy.

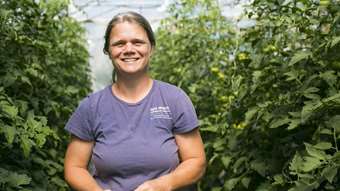
At Efficiency Vermont, in addition to energy experts, we have a few gardening pros in our midst! Senior Energy Consultant MJ Poynter is also a Master Gardener, and Energy Consultant Jill O’Connor, an energy consultant for indoor agriculture work for Efficiency Vermont. We sat down with MJ and Jill to gather some tips and tricks they recommend for getting your garden going this year.
Our conversation focused on starting seeds in your home in an energy-efficient and effective way. If you have or are starting a greenhouse or looking to grow plants indoors year-round, check out our information and rebates for Greenhouse Equipment. Efficiency Vermont’s grow lighting rebates are for large-scale indoor growing operations that grow indoors year-round. Efficiency Vermont does not currently have rebates for seed starting equipment and lights.
MJ: It depends on where you live. Even though Vermont isn’t that big, we still have a number of different plant hardiness zones. UVM Extension has done the work for us with a helpful resource library. You can check what zone your garden is in, then check the planting schedule for Zones 3-4 or Zones 4-5.
Plants like tomatoes and peppers need to be started 6-8 weeks before the last frost date. Check your seed packet to see the recommended timing.
MJ: Plants need light, food, and warmth to thrive. You’ll need your seeds, grow lights, sterile seed starting mix and fertilizer, and possibly a heating mat. Keep watch as your seeds start to sprout. Seeds like tomatoes and peppers need more warmth than seeds from the brassica family, so you may want to group those that need more bottom heat together.
Seeds need 12-16 hours of light. If you have a good sunny place in your home, you may not need grow lights for that whole time. But spring light is less intense than summer sunshine, so your seedlings will need some artificial light to grow strong.
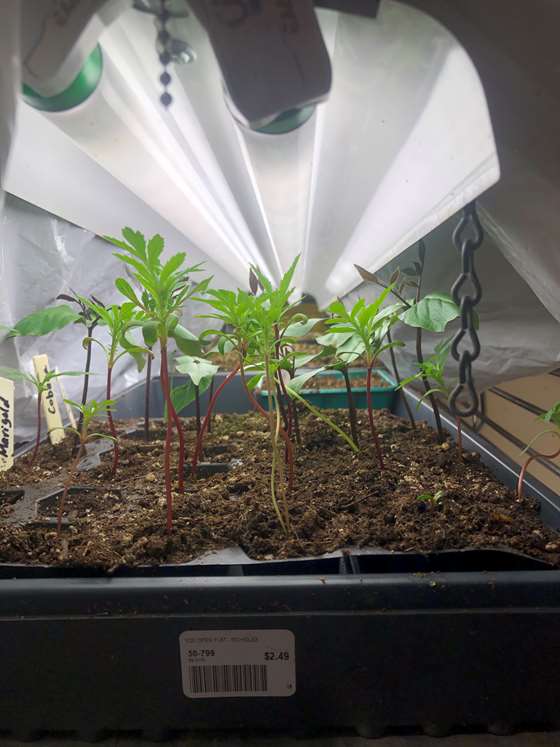
MJ: I put my trays with a plastic dome cover on top of a heating mat. I also create a tent out of a plastic garbage bag hung over the lights and seed trays (with enough space so the air can still move and there’s no risk of the lights melting the plastic). This helps trap the heat and maintain a warm environment, even after the heating mats are removed.
The grow lights should be set up four to six inches from the surface of the soil. I plug them into a power strip connected to a timer to keep them on between 12-16 hours each day.
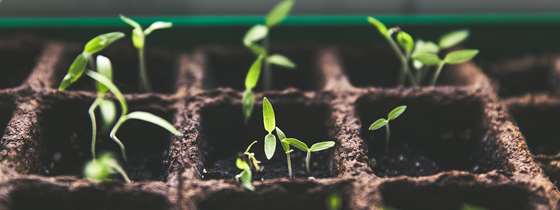
Once the seedlings pop out of the soil, I take the plastic cover off and turn off the heating mat – this prevents mold growing which can kill the little seedlings. But I leave the plastic garbage bag over the lights to keep it warm under my little greenhouse tent.
Jill: For years, the best option for energy efficient grow lights were fluorescent tubes. Today, you can buy LEDs designed for growing that use about half the electricity of other grow lights. Even for large-scale indoor growing operations, LEDs are replacing inefficient HPS (high pressure sodium) lights that were long the industry standard.
MJ: There is a trade-off: because linear fluorescent lamps are less efficient than LED lamps, they emit more waste heat. Depending on where you locate your seed starting station, some waste heat can help with germination and happy seedlings. This is the one time that inefficiency isn’t entirely bad! LEDs put off heat too, just not as much.
Jill: It’s important that the lights meet the spectrum needs for your plants. Seedlings care most about blue (promotes root and leaf growth) and red (promotes flowering and fruiting) wavelengths. LEDs can provide both of those colors for your plants. Try to find bulbs with the ENERGY STAR® label to ensure you’re buying a high-quality light.
MJ: Full spectrum grow lights will contain the necessary wavelengths for your seedlings. I’ve also tested efficient shop lights (3000-3500K) and have found very similar performance in my seedling growth. Try the experiment yourself!
Jill: It’s also important to make sure you’re using a safe product. I’d check the manufacturer specs for proof that they’ve done safety testing at a certified lab like UL, CSA, Intertek, and TUV. Plugging the lights into a surge protector power strip will help protect from electrical surges and connect the lights to a timer, like MJ recommends.
Jill: Again, the most energy efficient way to grow plants is outdoors! But if you want to grow inside year-round, take the time to do the research. Research Innovation Institute has put together together several helpful guides, for various areas of plant production. While some are targeted toward cannabis growers, a number are relevant for all indoor growers.
MJ is right, if you’re only growing seedlings, you might be able to get away with an ENERGY STAR shop light, but if you’re growing plants to maturity or year-round indoors, you’ll want a light specifically designed for growing.
For indoor growing, I recommend a white light full spectrum LED that can provide balanced light to all plants. Many LED manufacturers will claim “full spectrum” light – look for a spectral diagram accompanying the product to verify the claim. I generally don’t recommend tuning your grow light fixtures to specific wavelengths. It might help some plants but hurt others.
MJ: Most plants’ ideal germination soil temperature is 80-95°F. There’s a bigger variation when you’re planting outside – from around 45-75°F. Here’s a handy guide from Gardener’s Supply so you can identify the right temperatures for your seedlings.
Heat mats are the most efficient way to heat the soil – much more efficient than heating an entire room to keep the soil warm. But they do take energy. Check the wattage on a mat before you buy: mats range between 17 – 100 watts, depending on the size. I also slide a thin piece of rigid insulation under my heating mat to direct the heat toward the seed tray.
MJ: When the plants get their first set of true leaves, I water them with very diluted fertilizer like fish emulsion. Stay on top of feeding and watering, and raise the grow lights to maintain the four-six inch distance. When they’re ready, transplant into larger pots to support further growth. A few weeks before the last frost date, begin “hardening off” your plants – moving them outside.
Here’s the tricky part: It’s tempting to just move them right outside when they look hardy. But the shock of direct sunlight severely damage or may even kill them. Instead, I bring them outside in 100% shade for a couple hours, increasing the time slowly for the first week. After a week, I move them to partial sun – under bushes or overcast skies. I slowly expose them to sunlight over the next few weeks until they are ready to be transplanted into the garden.